 Have you ever come into possession of an old pocket knife that was worse for wear, but still handsome and sturdy?
Maybe you were looking through your grandfather’s treasure box, took a shine to the knife, and Gramps said you could have it.
Or maybe you’ve started collecting antique pocket knives in earnest. That describes myself. I’d been looking for a good, manly collection to start for a while now. I wanted to do something vintage-y, small (I don’t need a wall full of antique swords), affordable, and practical. With that criteria, it was easy to settle on pocket knives (every man needs them!). There are many thousands of varieties that have been made for decades and decades, they can often be cheaply acquired at antique stores and garage sales, they store great in a shoebox (or in a pocket), and are eminently useful.
Whether you buy an antique knife or one gets passed on to you, it’s likely that it’ll be rusted, grimey, dull…less than ideal for both collecting and using. So how do you go about restoring the knife to its former glory? With some digging on internet forums, as well as talking with a couple antique dealers, I was able to nail down a solid method for cleaning antique pocket knives and ensuring their fine fettle and usability for years to come.
First, Get to Know Your Knife
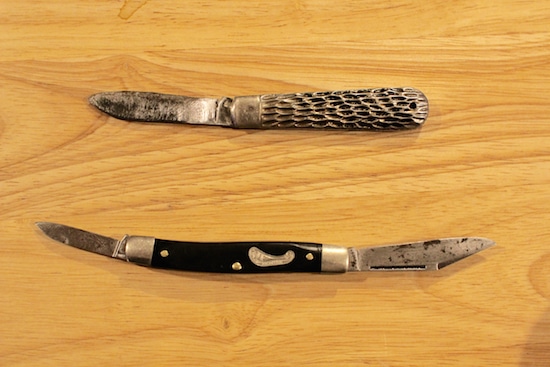
Before cleaning/restoring the knives. You can see the top has a lot of wear/rust/grime on the blade and the handle (it’s a metal handle); it needed a bit more TLC. The bottom one had rusted blades, but the handle was in fantastic condition. It did also need some work on the blade hinges, as both blades were grinding quite a bit when opening and closing them.
One of the fun parts of restoring a pocket knife to its former glory is doing some homework and getting to know the knife itself. Some knives have shields on them, which state a manufacturer or line of products. If there’s no plate, you can often find some identification at the very base of the blade, where it meets the handle. It can be hard to read, especially before cleaning, but you’ll likely see a product number or manufacturer listed.
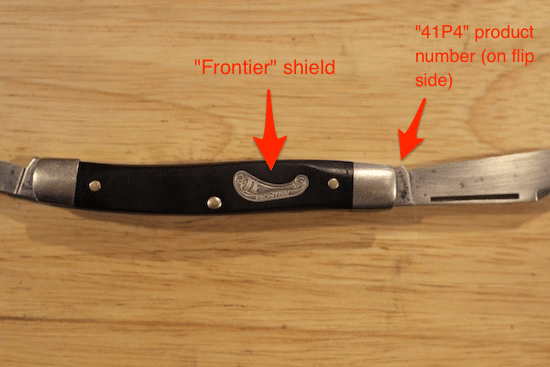
It’s hard to read in this image, but the gold shield here on the knife reads “Frontier.” I came to discover it’s a line of knives made by Imperial. After cleaning, I was also able to read the product number at the base of the blade (barely).
If you have a product number/brand, it’s fairly easy to google your way into finding out the history of the knife — its production run, its original retail value, how many were made, etc. If you can’t find any identifying information on your vintage blade, snap a picture, upload it to any number of knife forums (allaboutpocketknives.com is a good one), and get someone else on the case.
After you’ve found out a little bit about the knife, it’s time to get restoring!
Supplies For Restoring a Pocket Knife
- Wet/dry sandpaper. While there are multiple methods you can use to restore a pocket knife, the one that worked best for me used wet/dry sandpaper dipped in Hoppes No. 9 gun cleaner/solvent. Using regular sandpaper could cause some abrasion from the friction, but by using a wet/dry variety with a cleaner, you’re protecting against that. In addition, combining with the solvent ensures that the rust and grime has no chance of surviving.
- Hoppes No. 9 gun solvent. This was a tip from a knife forum. There are any number of cleaners you can use, but this is what I went with, and it worked like a charm. It was my first experience with Hoppes No. 9 — boy is that a manly smell!
- Penetrating oil. For this project you’ll want a true penetrating oil rather than just a multi-use lubricating spray like WD-40. This oil is made specifically to loosen rusted parts and get them moving again — perfect for a stubborn blade hinge.
- Brass brush. A brush with brass bristles will get into the smaller nooks and crannies that the sandpaper just won’t be able to.
- Cleaning/polishing cloth. You’ll want a soft cloth that you can use to both wipe away cleaner, and polish the blade with.
- Metal polish. At the end, you’ll apply a polish to the blade to give it a nice shine.
- Knife sharpener. Most vintage knives need a good sharpening. Make to sure to read our article on how to sharpen a pocket knife.
Keep in mind these are supplies mostly for cleaning, sharpening, and loosening hinges. If the handle itself is damaged and needs work, you’ll need a bit more skill and gumption, and that’s beyond the purview of this piece.
I should also note that you’ll want to do this project either in the garage, or on a surface you don’t mind getting dirty/oily. Your kitchen countertop is not the place. I used an old TV tray with some towels underneath.
Restoring and Cleaning Your Knife
1. Give the knife a good wipedown.
The first thing you’ll want to do is wipe the knife down with a wet paper towel, including the space between the scales (the scales are just the outer pieces of the knife handle — between them is where the blade lies). This will help you know what might just be loose dust/dirt, versus rust and grime that needs some elbow grease to remove.
2. Spray with penetrating oil.
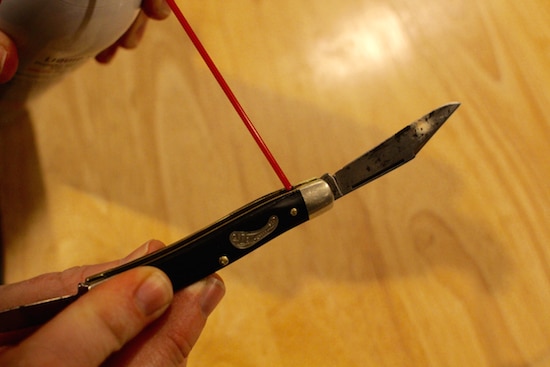
Next you’ll spray the knife with penetrating oil, particularly at the blade joints. Most vintage knives will have build up there, and will therefore be a little creaky on opening and closing the knife. This is a pretty easy fix with penetrating oil. Just spray a bit, let it soak, wipe it off with a polishing cloth or even paper towel, then rinse and repeat as needed. On my knives, I sprayed at the beginning, and then again at the end as a closing step. The difference is rather noticeable, particularly on the Frontier. It was a grind to get the blades open beforehand and now it’s a breeze.
3. Dip sandpaper in Hoppes No. 9, and go to work on the blade.
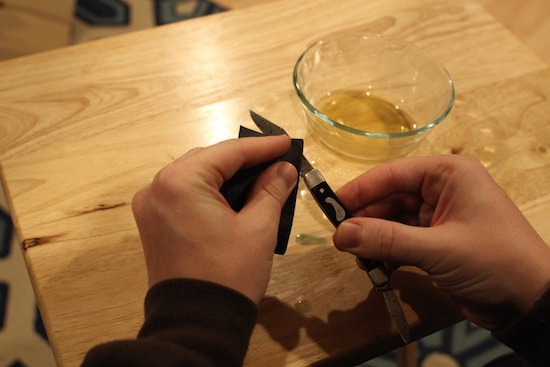
I started with 320-grit wet/dry sandpaper, dipped a small piece in the Hoppes No. 9 (which I had poured into a small dish), and went to work rubbing the blade. This cleared the majority of the grime after a few minutes. Do know it takes some elbow grease and real scrubbing to get it all. Then, I switched to 400-grit, and scrubbed again. Use a cloth to regularly wipe away the oil and grit, and repeat the process until you’re happy with the product.
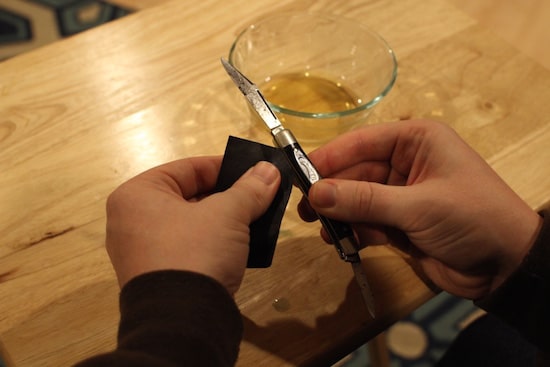
Make sure you get all the nooks and crannies that you can with the sandpaper, including between the scales.
4. Using a brass brush, clean the hinge and the finer grooves.
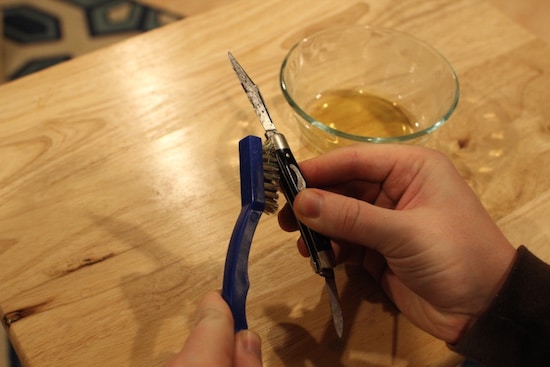
Next, you’ll use the brass brush to get into some of those harder-to-reach places. I dipped the brush in the Hoppes No. 9, and scrubbed the hinges again, as well as between the scales. This gets some of the finer rust and grimey particles.
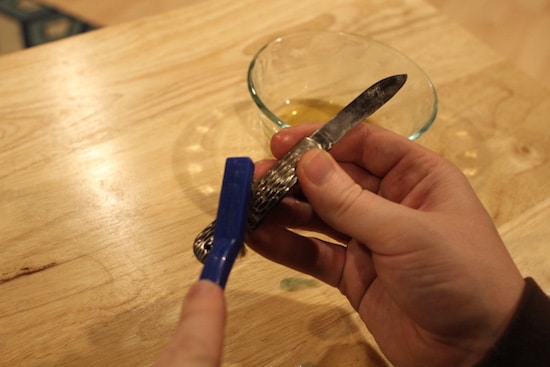
If you get a knife that needs cleaning on the scales — particularly on a textured surface like this one — the brass brush comes in handy as well.
5. Wipe away all the oil with a cloth.
After all this cleaning and scrubbing, the knife will be oily from both the penetrating oil and the gun solvent. Using a cloth, wipe away the oil.
6. Sharpen blade as needed.
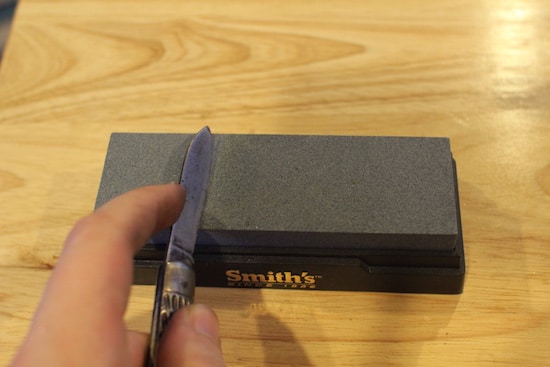
One of the knives I bought was clearly recently sharpened, but the other was pretty dull. Use your judgment, and give a good sharpening if needed.
7. Apply polish.
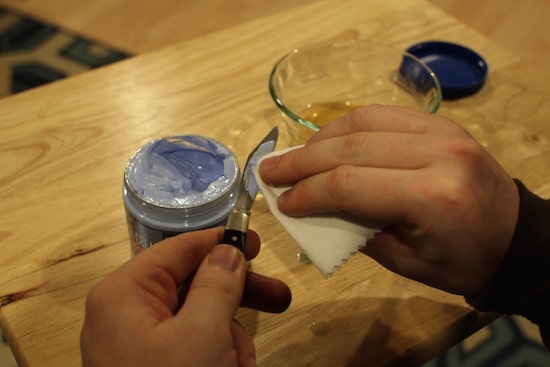
Finally, apply a nice metal polish to the steel blade when you’re all done. It’ll shine like new! (Okay, maybe not quite like new, but darn close!)
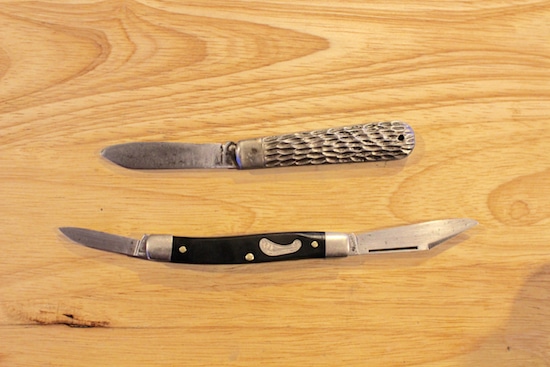
After cleaning. They aren’t perfect, but are in far better condition than what I started with. For a total of just about $25, these two knives were well worth it, and make a great addition to my collection.


