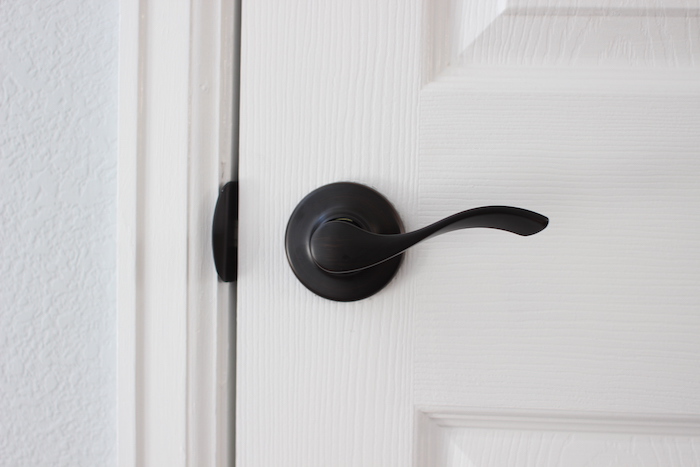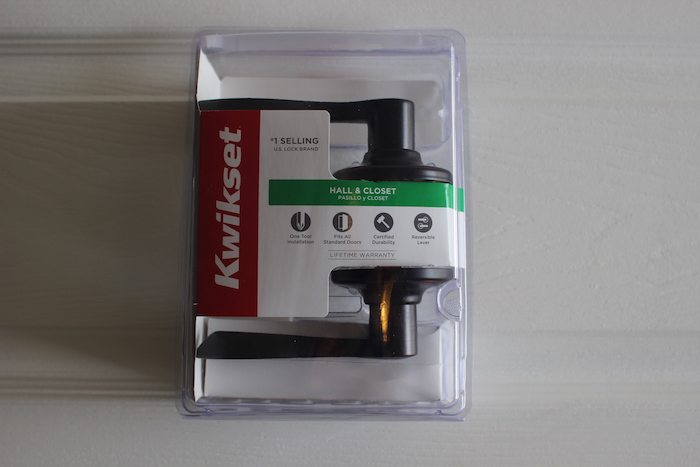
When you see a door knob in its packaging at a hardware store, it can look like a confusing contraption. What sort of wizardry is going on inside the door to make the knob turn so effortlessly? Turns out, it’s not at all confusing when you get into it. With just a screwdriver, you can install or replace nearly any doorknob in your home. It’s handy when hardware has become scuffed up or scratched (it’s an easy upgrade that makes the house look much nicer than the effort put into it), but it also sometimes automatically fixes any latching problems a door in your home might have. Sometimes hardware can get bent or misaligned, and a new knob and plates easily fixes it all up.
Supplies/Tools
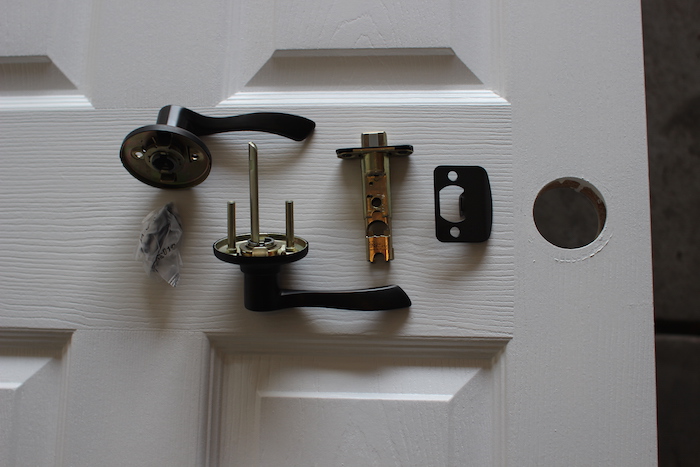
- 1 door knob kit — generally includes two door knobs (one with three “spindles” and one without), a latching unit, and a strike plate (where the door latches on the frame)
- Screwdriver
How to Install a Door Knob
1. Insert and Secure the Latch Unit
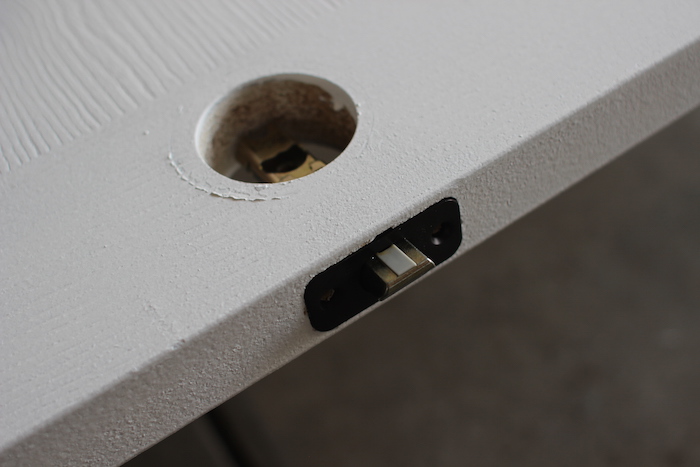
The cutouts for door knobs are universal sizes. So the circular hole and distance to the edge of the door is always the same, as is the cutout for inserting the actual latching unit.
Insert the latch unit, making sure the angled part of the bolt is facing towards the door frame — that is, the direction the door is closing — and screw it into place.
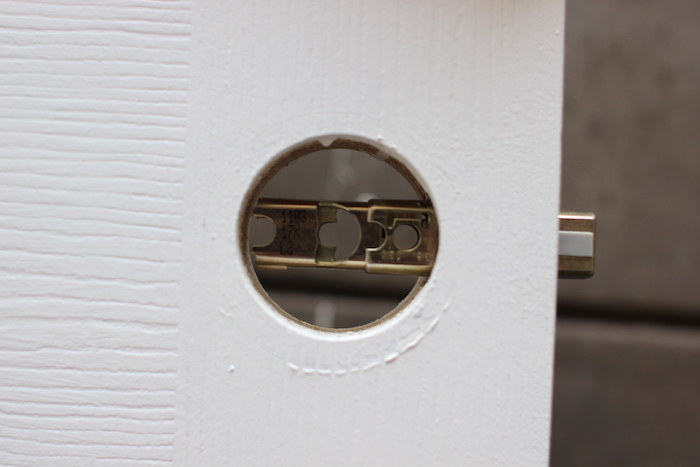
That half moon-shaped opening in the middle should sit directly in the center of the circular cut out.
2. From the Opposite Side, Insert the “Outside” Knob
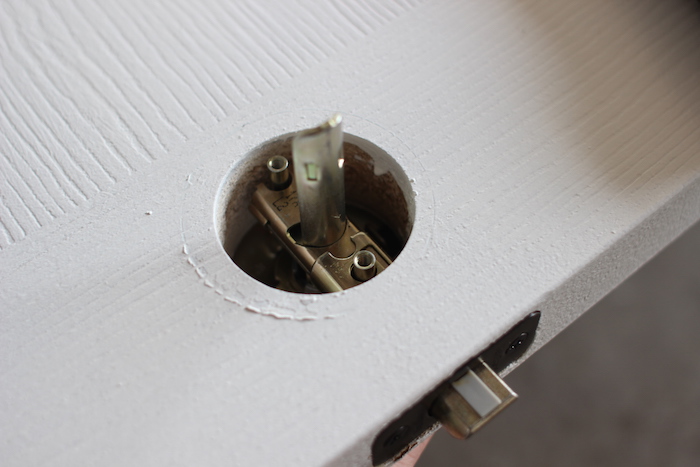
Even for interior doors, the knob with the spindles on it is called the “outside” or “exterior” knob for labeling purposes. From the opposite side of the door, thread the half moon-shaped spindle through the corresponding hole in the latch unit, as well as the two circular spindles, into which the screws will go from the “interior” knob. There’s nothing to hold the knob in place yet, so keep it there with your hand, or have a helper hold it there for you.
3. Insert “Interior” Knob and Secure
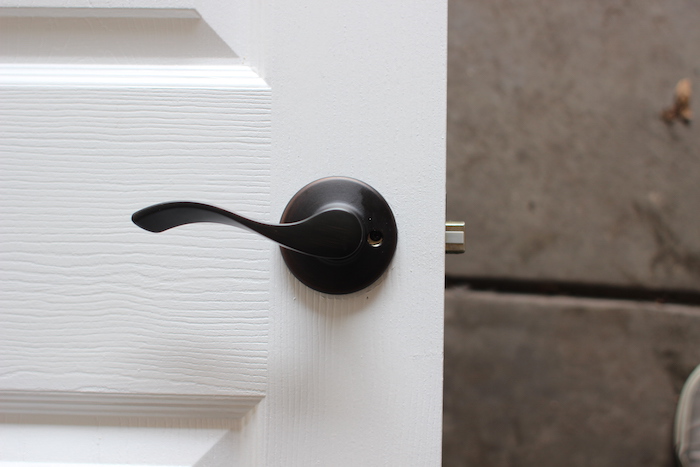
The other knob should slide right over the spindles of the one you just placed, and the screw holes should align (which you can see in the image above). Use the screws provided in the kit to secure the two sides together. The knob should now properly turn, and engage the bolt.
4. Attach New Strike Plate and Ensure a Smooth Latch
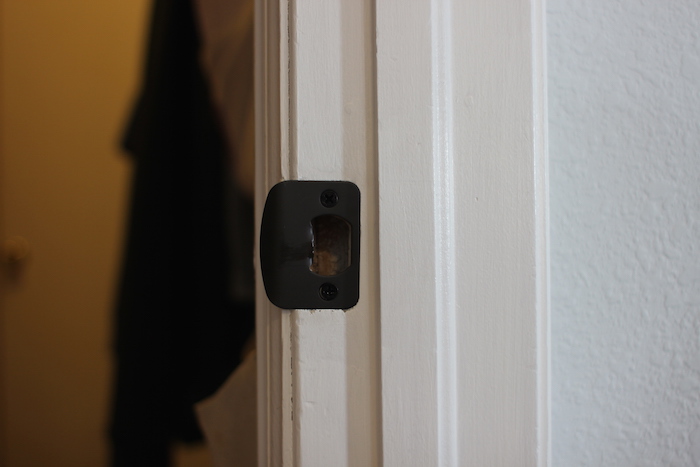
That’s all it takes. If you’re replacing the knob and strike plate, it’s also a good idea to replace the hinges, just so all the hardware matches. Looks nicer that way.
