How to Carve a Turkey — In Text and Pictures
1. Let the bird rest.
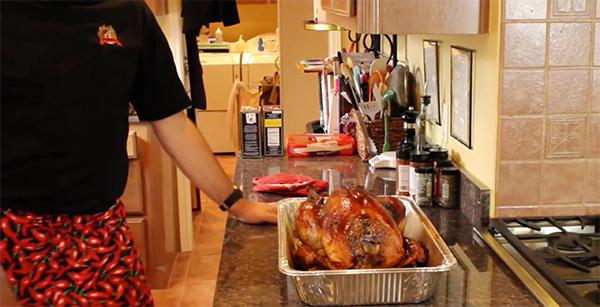
After you take the turkey out of the oven, you want to let it rest for about 20 to 30 minutes before you start carving. If you start carving too early, the juices from the bird will run all over the place and your turkey will dry out. Also, letting the turkey rest and cool will reduce the chances you’ll scald yourself with delicious but molten hot turkey juice.
2. Separate the thigh from the body.
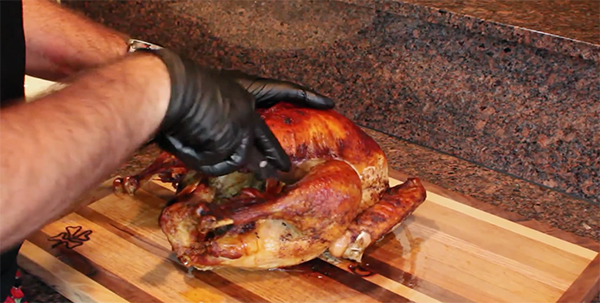
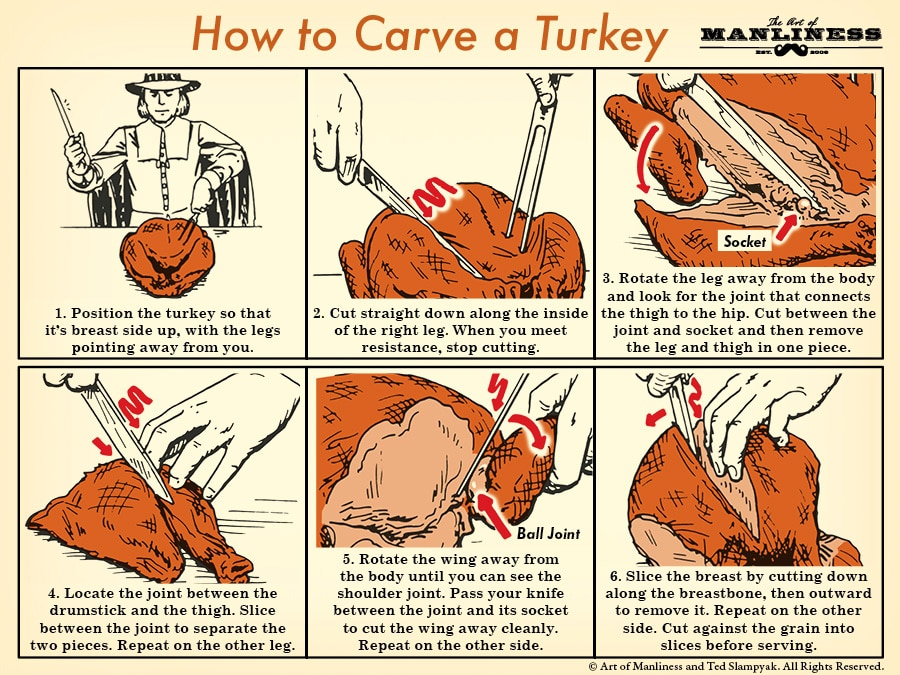
Take a sharp chef’s knife and cut the piece of skin in between the body and the leg. Once you have some separation, grab the body of the bird in one hand and the leg and thigh of the turkey in the other, and start pulling them apart to expose the joint that holds the leg to the turkey. You know you’ve reached it when you hear a pop. Carve around the joint until you don’t get any resistance. Pull the leg and the thigh away from the body of the turkey all in one piece. Repeat on the other side.
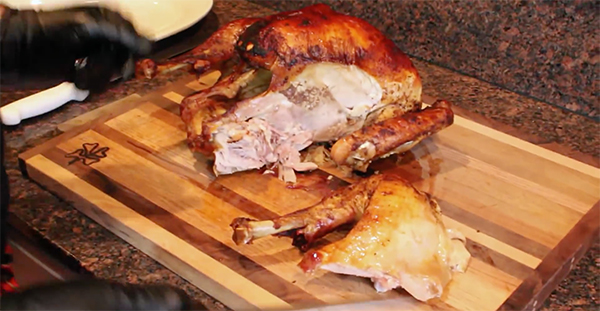
3. Separate the leg from the thigh.
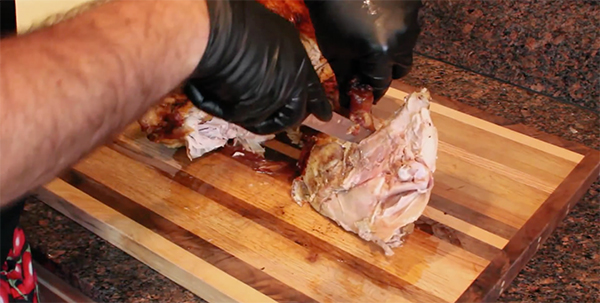
Holding the drumstick, stand the thigh and leg piece up on its end. Take your knife and cut between the drumstick and the thigh bone. When you meet some resistance with the thigh bone, move your knife around it a bit until you don’t get any resistance. Make the final cut and separate the drumstick from the thigh. Place the drumstick on the platter so the kids can start fighting over who has dibs on it at dinner time.
4. Cut the thigh meat.
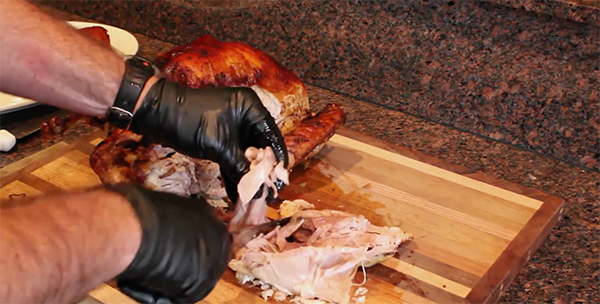
You’ve got some great meat on the thigh bone. Don’t let it go to waste by just hacking away at it. There’s one bone in the thigh meat and your goal is to separate the meat from the bone. Grab the end of the thigh bone, and take your knife and carefully start scraping the meat away from the bone. If you’re really careful you can take the thigh meat off in one piece. But if you need to separate it in two pieces when cutting it away from the bone, it’s no big deal. Once you get the meat separated from the thigh bone, you can carve it up for your platter.
5. Separate the wing from the body.
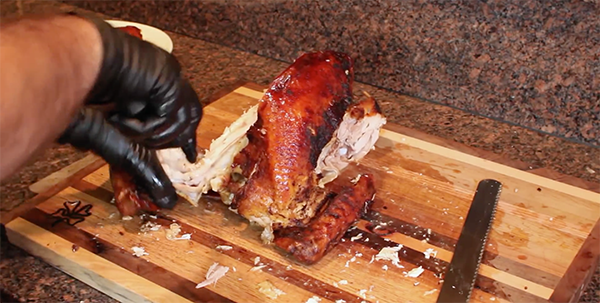
Our next step is to separate the wing from the body. The wing is attached to the turkey by a ball joint. Cut the area between the wing and body until you get to the joint. Once you get there, grab the wing and pull it away from the turkey until you hear a pop. Once you hear that pop, take your knife and start cutting through the tendons and ligaments surrounding the joint until you separate the wing from the body. You can serve the wing whole on your platter. Repeat on the other side.
6. Carve the turkey breast.
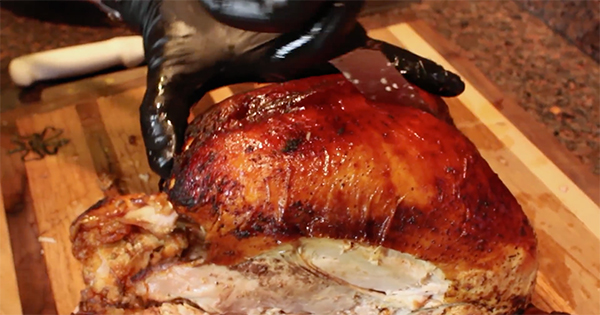
You have some options on how you carve the turkey breast. The traditional way is to carve small slices off the side of the breast. There’s nothing wrong with this way, but it does tend to dry the meat out. Also, if you get the wrong kind of knife, you can tear the meat and it won’t look as good when you serve it.
Another way you can carve the breast meat so that you maintain juiciness is to cut the entire breast off the turkey and then carve it up into smaller slices. Find the breastbone in the middle of the turkey. Pick which breast you’re going to carve first, and make a cut right next to the breastbone on that side.
Continue cutting down the side of the breastbone. It helps to use your hands to peel the breast away from the bone as you’re cutting. Keep making small slices with your knife until you can separate the entire breast from the turkey.
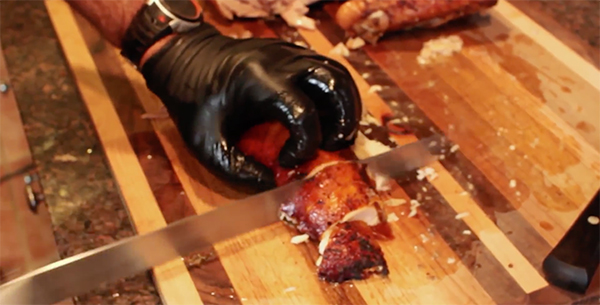
Once it’s off, grab your large carving knife and slice the meat against the grain starting at the small point of the breast. You can make the slices as thin or as thick as you want. If you don’t think you’ll eat the entire breast, just cut what you’ll use, and wrap the rest of the breast in plastic wrap. It will stay nice and juicy for later.


