The benefits of a pocket notebook are numerous, as are the number of great men who’ve utilized them. Today, I’m going to show you how to make your own. It’s cost-effective, only takes about 20 minutes, and gives you a chance to express a little bit of your personality in the process.
Supplies
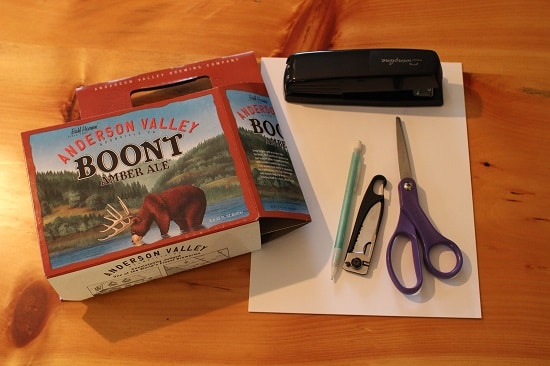
- Any six-pack carton — be it your favorite craft brew or a beloved root beer. Four-pack cartons also work, but the notebooks will be a little bit smaller and a little bit harder to put together.
- Paper — blank, graph, lined. Whatever floats your boat.
- Stapler
- Scissors or paper cutter
- Pocket knife
- Pencil
Building the Notebook
1. Cut out the cover.

Cut out the main panel from your six-pack. If you mess up, there’s always another one on the other side! It will also be connected to the pack’s insides, so just carefully tear it away.
2. Trace and cut your pages.

Using the panel you just cut out, trace your notebook pages. I traced 10 pages, which is 20 pages for the notebook when they’re folded in half.
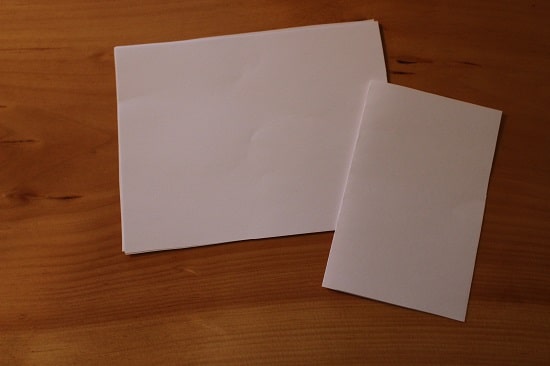
When you cut, do it just inside the line you traced. An 1/8″ inside the line on all sides will do. This is so the pages sit nicely inside the notebook rather than peeking out. After you’ve cut, fold each page in half individually; this creates a better fold than doing multiple pages at once.
3. Fold the cover.

This is a little trickier than it would seem. My first attempt ended in a bungled mess of cardboard. So, take your pocket knife and neatly score it down the middle. (Best to measure for the middle; again, on my first attempt I tried just eyeballing and it didn’t go so well.)
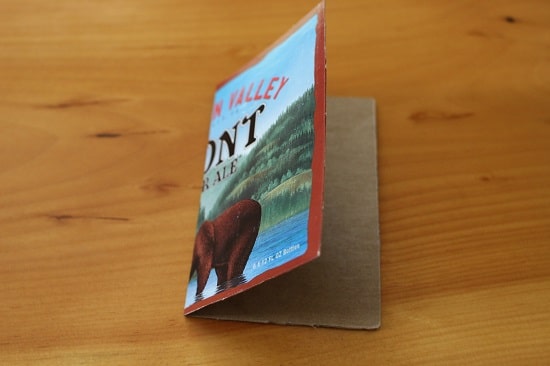
Once scored, it’ll fold nice and neat.
4. Staple in pages.
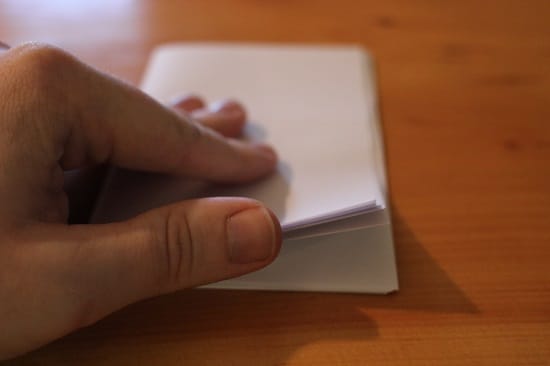
Once you’ve individually folded your pages, put ’em all together nice and tight, each inside the next, so they make a good notebook.
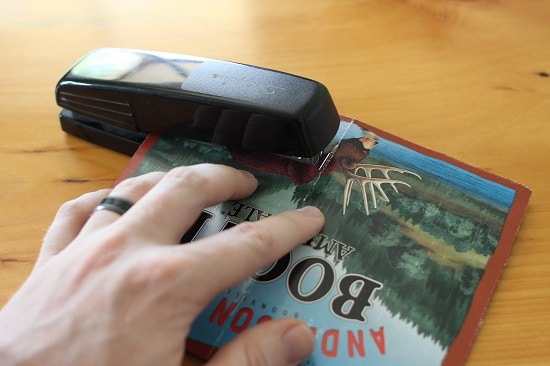
Place the pages into the folded cover, then carefully open it up and lay it flat, with the carton artwork facing up. (Clips could help keep everything in place, but I did just fine without.) Carefully staple at the seam; I did two staples, one at the top and one at the bottom, and it’s holding up quite well.
5. Write down your brilliant ideas!
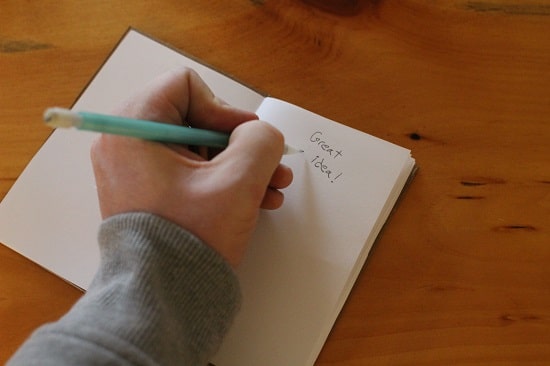
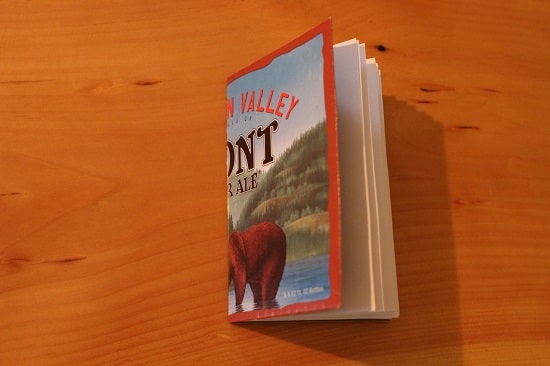
Make one for yourself or make a set of 3 different ones for an easy DIY gift. The only challenge is deciding which carton(s) to go with!


