With our archives now 3,500+ articles deep, we’ve decided to republish a classic piece each Friday to help our newer readers discover some of the best, evergreen gems from the past. This article was originally published in September 2017.
While on book tour in Chicago a few months back, I had the honor and pleasure of sitting down to enjoy a leisurely meal, and a few cold beers, with the one and only Meathead Goldwyn. For those not in the know, Meathead is a world-renowned pitmaster, and he distinguishes himself from the pack by focusing on the science of cooking.
Our delicious food ran out after an hour, but the conversation, and the beers continued. And of course a good conversation can always stir up an opinion or two. As I learned, Meathead never shies away from making and defending opinions that go completely against culinary tradition, instruction, and know-how.
Though such controversy is well-documented on his own site, I thought it prudent to put one of his theories to the test. The challenge? Meathead believes that we are cooking our steaks all wrong!
Now, steak carries high favor over here at the Art of Manliness, and as one who has written many a recipe on cooking it, I tried my best not to be offended. But the more I listened, and the more I read up on Meathead’s reverse sear technique, the more I became intrigued.
Throwing Tradition Out the Window
Although there are many ways to cook a steak, most chefs, culinary professionals, and experts agree on which method is best: sear the heck out of it over high heat, followed by a period of indirect heat until the steak reaches the desired temperature, and finish with a 10-15 minute rest (off of heat) until ready to serve.
Meathead says to throw that all out the window, and to do the whole process in reverse.
Certainly, this is not the first I have heard of such a technique. French chefs pioneered a similar method of cooking in the 1970s using their sous-vide style of cooking. Essentially, the sous-vide method entails sealing food in some sort of wrap, and submerging it into a precisely controlled, typically low temperature, water bath. The benefit of this technique is that it slowly brings the entire cut, from edge to edge, to the exact internal temperature desired — say 130 degrees. The problem with this method is that one would likely never eat the grey mass of meat when pulled from the bag, even though its internal temp is a near perfect medium-rare. To solve this issue, a chef will finish a sous-vide cut over high heat on a grill or pan to get the caramelized flavor and color (known as the Maillard reaction) that many of us are accustomed to enjoying. Additionally, because the cut was slowly brought up to temperature, it’s more evenly heated through, which means that resting the cut is not necessary (resting normally allows for some of that searing heat to transfer into the center). All that said, the sous-vide method is time consuming (it can take hours to bring a cut up to temperature), and it can be expensive — a decent in-home machine, though coming down in price and improving in technology, will still run you a few hundred bucks.
Fortunately, you don’t need a special sous-vide cooker to use the reverse sear method on a steak, and you can get a similar effect using an ordinary grill or smoker. Meathead in fact claims to be the first to perfect the reverse sear by way of grill or smoker, coining the term sous-vide-que.
As someone with an enduring interest in all things BBQ, I decided to follow Meathead’s instruction, and cook up a nice Saturday steak using his method.
The result? Fantastic.
Before we get started, let’s go ahead and get a few disclaimers and necessary items out of the way:
- Reverse sear is not just for steaks — it works with roasts, pork, chicken, turkey, and even vegetables.
- That said, a reverse sear works best on thicker cuts of meat. Meathead recommends that a steak be at least an inch thick. So, the conventional method of hot and fast is not wrong, per se, as it is best utilized on thin cuts (less than 1-inch thick), such as skirt steak.
- Become a master of time and temperature, and also direct and indirect cooking. Whether you have a $50 kettle grill, a gas grill, or a big ol’ expensive smoker, your food will taste best when you maintain the correct temperature over a set period of time. I like the Chargriller Akorn smoker — it’s a super affordable komodo-style cooker that allows me to hold steady, low temps, while also getting up to high heat very quickly.
- Invest in a good meat thermometer, and use it.
Using the Reverse Sear Method to Cook the Perfect Steak
Here’s the step-by-step process I used to cook a delicious steak, using the Reverse Sear method outlined by Meathead, along with some of my own tweaks.
1. Set up grill for indirect, low and slow cooking.
My preferred manner when utilizing charcoal is known as the Minion method. This method is most often utilized on kettle or komodo-style smokers. Instead of lighting all of the coals at one time, I light just enough of the coals and place them in contact with the unlit coals. With proper airflow, the idea is that the lit coals will slowly burn and light the remaining coals in a steady, uniform pattern.
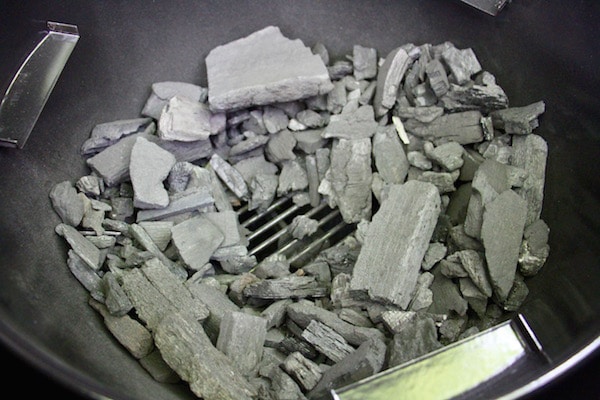
I like to achieve this by creating a “reverse volcano” inside the bowl of my smoker. I stack fresh lump charcoal with the larger pieces towards the bottom and around the perimeter of the bowl, leaving a hole in the center of the pile. From there, I light just a few coals in my chimney starter and add them directly into the bottom of the smoker, making slight contact with the unlit coals.
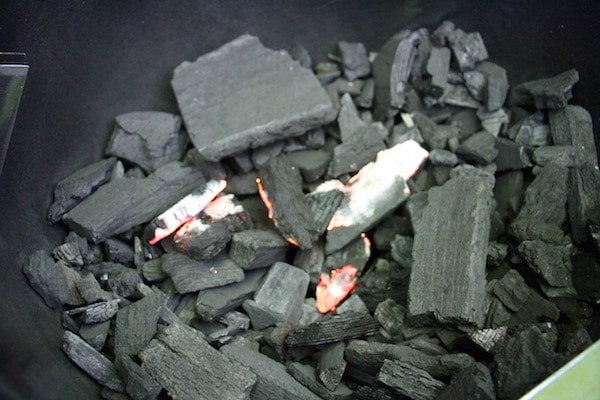
Using the air vents on the smoker, I maintain just enough airflow for the coals to slowly burn outward. With my fire prepared, I set the grill to hover just around 200 degrees F. Meathead recommends a temperature closer to 225 degrees F, but I had a little extra time and wanted to practice holding my temp very low and slow.
2. Cook the steak slowly over indirect heat.
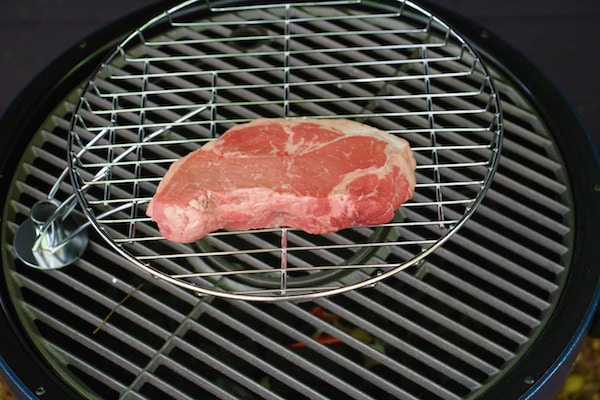
I accomplished this using vertical separation, placing my steak high and above the heat source. I could have taken it to the next level using a smoking stone or other barrier between the heat source and my steak, but I decided not to add that extra step due to the relatively low cook time. You can also use the offset method, most commonly used on a gas grill by placing the meat horizontally away from the heat source.
With my smoker holding at 200 degrees F, I cooked the steak indirectly for approximately 45 minutes until the cut reached my desired internal temp, between 115-120 degrees F.
3. Quickly bring the heat up on your grill/smoker.
Removing the steak from the smoker, I opened up both the top and bottom vents to introduce as much airflow as possible. Fire loves air, so it didn’t take long, perhaps 10 minutes, for my Akorn to climb to a steady 600 degrees F.
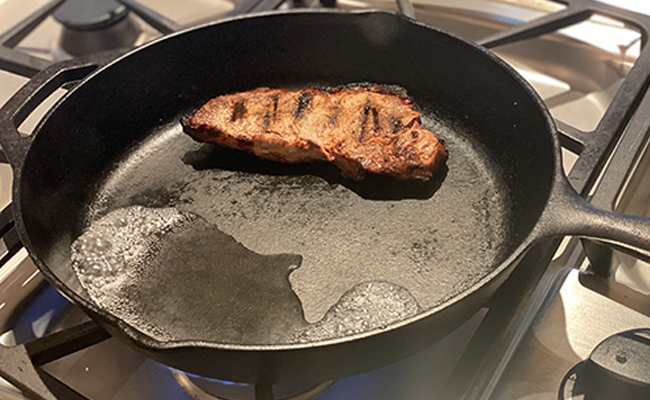
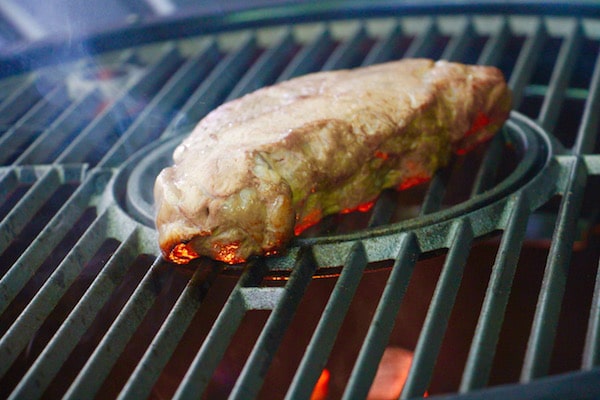
4. Sear the meat over high, direct heat.
Leaving the lid of the smoker (or grill) completely open is very important when searing the meat. Not only does this supply the coals with plenty of oxygen to keep the fire hot, it also ensures that you do not overcook your steak. Closing the lid would create a convective style of heat — not what we want here. The internal temp of the steak is already very close to my desired 135 degrees F. Because I’m cooking over direct heat, I turned the meat often, every 45 seconds or so to ensure even browning across the entire surface.
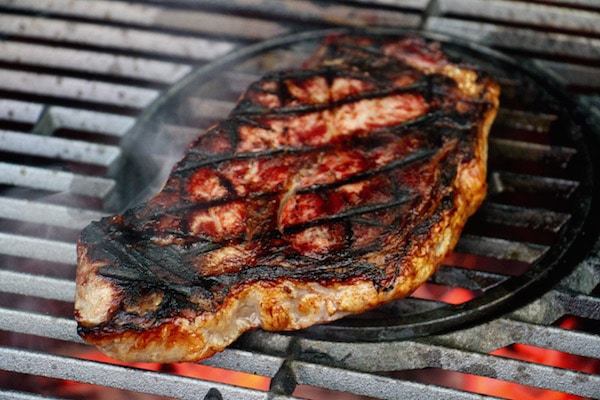
Additionally, I flipped the meat nearly every minute, taking the internal temperature until it reached my desired 135 degrees, exactly. Normally I would pull the steak off of heat 5 degrees early to account for some extra heat transfer, but wanting to test the “no rest” mantra, I pulled the steak at my exact temp. Note, the entire searing process took less than 4 minutes.
5. Don’t rest the meat whatsoever before cutting into it.
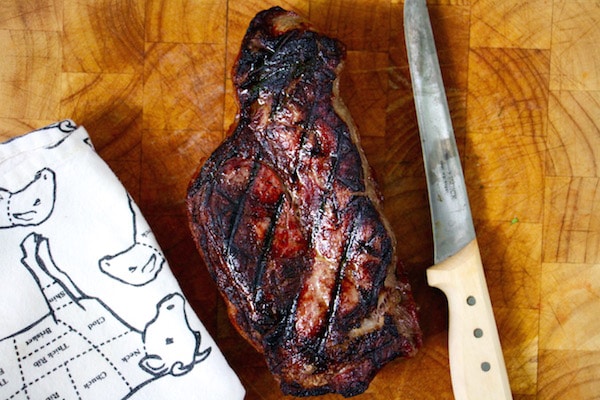
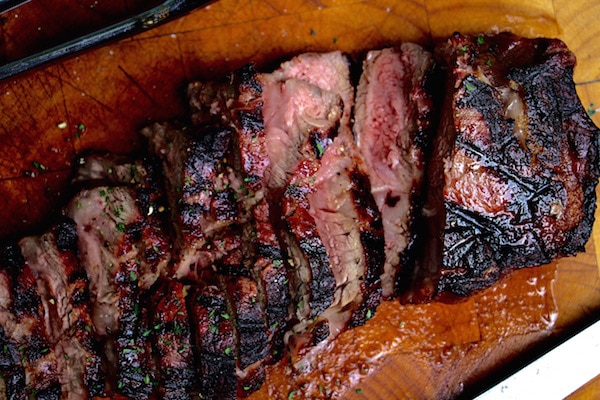
Sounds crazy, I know. It took every bit of trust for me to not let this steak sit on the cutting board for 10-15 minutes. I was sure that once I cut into the steak, the juices would run everywhere. But lo and behold, I was wrong.
After slicing the meat almost immediately after I pulled it from the grill, the interior was cooked beautifully from edge to edge, without any mess whatsoever — juices completely retained. A bit of coarse salt, cracked pepper, and a cold beer to finish everything off – boy oh boy was this a delicious steak!
In the end, I’m fully convinced the reverse sear method is superior to the conventional style of cooking, especially for thicker cuts of meat. That said, the one drawback of this method is its inconvenience. The same steak could have been grilled, and rested, in under 25 minutes, compared to my approximately 90 minutes of cooking to setup the grill, slowly cook, sear, and finish. I will say, though, that the results in terms of juiciness and tenderness were worthwhile. And when I’m paying good money for quality steaks, a bit more time and love in the cooking process is certainly worth it.
____________________
Matt Moore is a regular contributor to the Art of Manliness and the author of Serial Griller.