Have you ever read an ancient, sacred, or philosophical text — something dense, difficult, or foreign — that was heavily footnoted? At first, you tried to figure out the text yourself before turning to the bottom commentary for clarification. But then, over time, you started jumping right to the footnotes to see what things meant. What had enhanced your understanding of the body of the book, began to constitute it.
Our modern culture is very much like a heavily footnoted text.
There are hundreds of podcasts that will interpret the readings of your weekly Bible study; hundreds of articles that will explain the import of current events; hundreds of reviews that will tell you how you enjoyed a book or movie.
These secondary sources can add valuable light to your perspective, if they’re consulted after, or at least in addition to, putting in the work to form your own opinions and ideas — when they act as a supplement to, rather a substitute for, your own meditative and cognitive heavy-lifting.
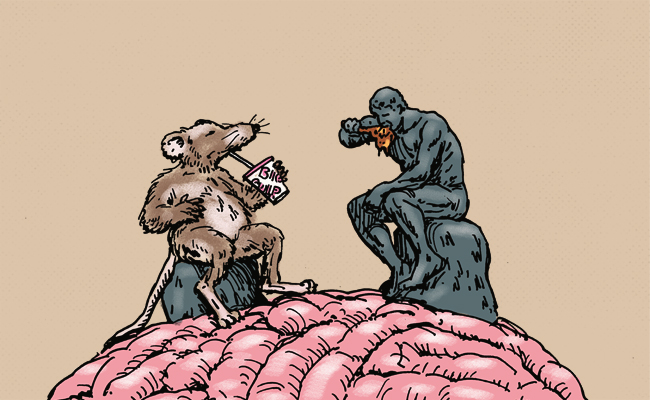
Alone, however, such “footnotes” constitute a very thin gruel; pre-digested and pre-chewed, such fare goes down easy, but lacks the sustenance needed to build oneself into a true, self-reliant individual.
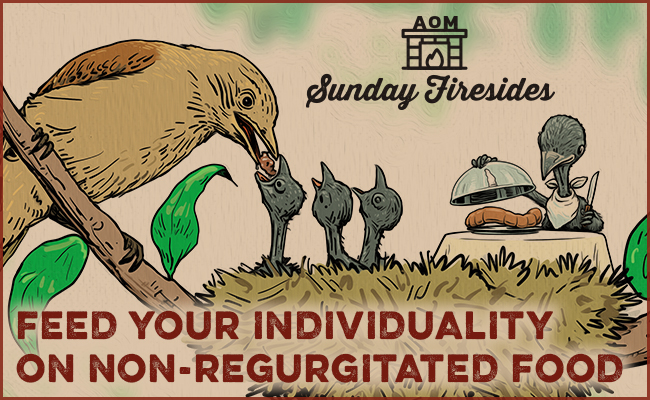
So dig into your direct impressions of a book or event or news story before you consume the regurgitated analyses fed to you by others, and even once you do, work to synthesize these secondary sources into your own take.
Reaching even higher, strive not only for an original understanding of someone else’s primary source, but towards the creation of your own. Become an individual who doesn’t just begin every conversation with “So-and-so says . . . ” but sometimes is that so-and-so; who generates frank, fresh insights and bold new revelations that needn’t be prefaced with
“I heard that . . .”
or
“I read that . . .”
but can simply be stated:
“I think that . . . .”