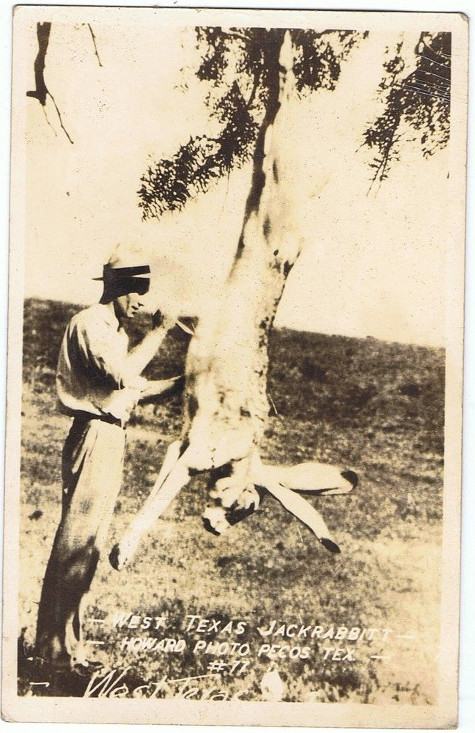
Everything is bigger in Texas — even the rabbits apparently.
Editor’s Note: This is a guest post from Creek Stewart.
**Disclaimer: This post contains a graphic step-by-step depiction of the skinning, slicing, and disemboweling of a real rabbit. If you’re eating, have always had a soft spot for Thumper, or faint at the sight of dismembered rabbit guts, please skip this post. Seriously. You can watch this video of an adorable rabbit stampede instead.**
I love rabbit meat. It’s probably my favorite meat. It is among the world’s cleanest and healthiest meats. It is high in protein and low in cholesterol. Unlike most meats such as chicken, pork, and beef, rabbits are rarely (if ever) pumped with antibiotics and hormones. They are typically raised entirely on water and hay – can’t get much healthier than that. Wild rabbits are even better, foraging on fresh greens year-round. If you’re raising rabbits, two does (female) and a buck (male) can produce up to 50 rabbits a year. They are an incredibly easy, economical, and sustainable meat-producing animal to farm.
I am fortunate enough to be able to purchase whole dressed rabbits from my local butcher down the street, but I also believe, as a meat eater, I should know how and be willing to do the dirty work myself. This involves the killing, the dressing, and the butchering. I never want to take the meat I eat for granted and this process helps me to keep things in perspective and also reminds me of exactly where my food comes from. I believe this connection is important. Below is how I dress and butcher a rabbit.
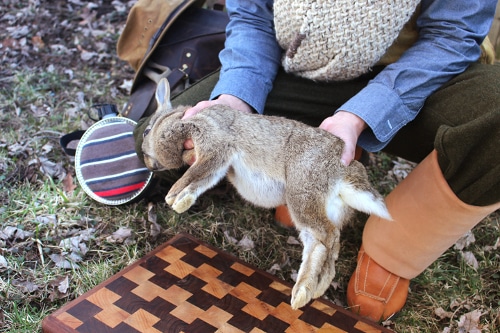
The Field Dressing
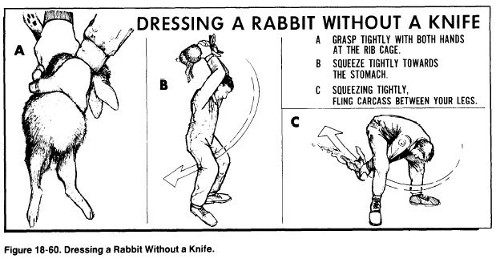
There are many ways to get the job done. Though my method isn’t as field expedient as the rabbit dressing illustration in the official Air Force Survival Guide (shown above), it should only take 2-5 minutes, even if this is your first time.
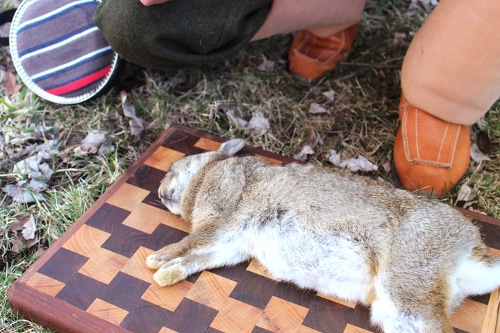
I start by placing the rabbit on a nice solid working surface. In this case I’m using a cutting board.
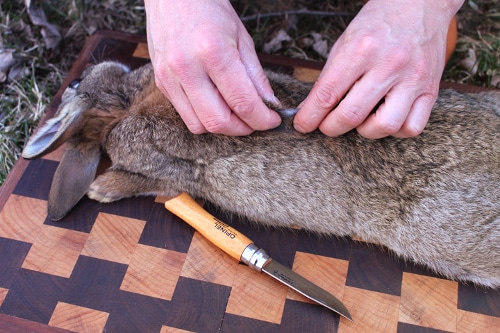
You’ll want to pinch the hide on the rabbit’s back and make a small cut. The hide of a rabbit is very thin and you don’t even need a knife to do this; I’ve used a sharp stick to puncture the skin.
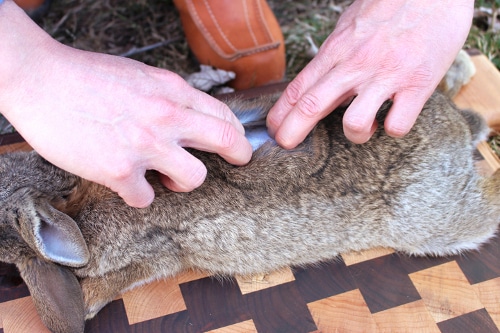
Once you’ve made the cut, work your middle and index finger from both hands into the opening.
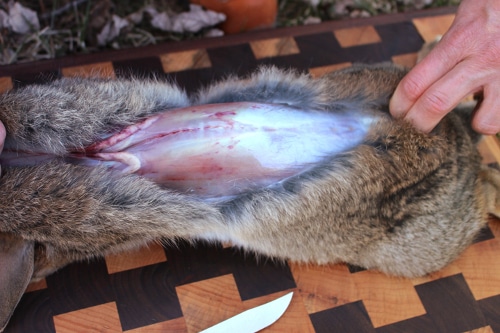
Now, firm and steady, hook your fingers under the skin and pull one hand toward the head and the other toward the rear.
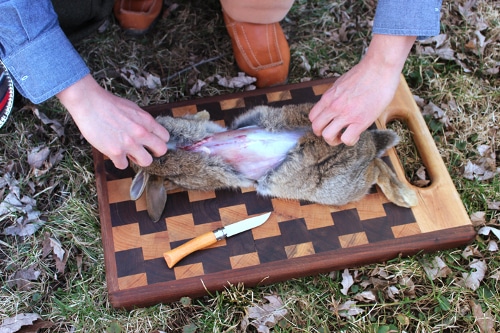
The skin will begin to tear and separate from the body in two pieces.
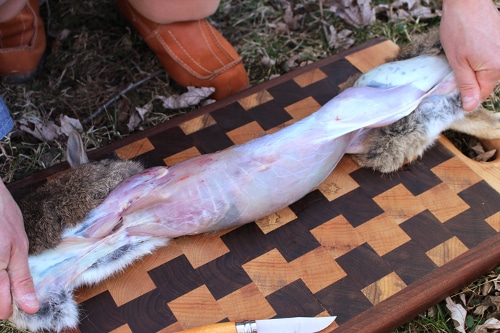
Keep pulling, grabbing more of the hide as you go to get a better grip.
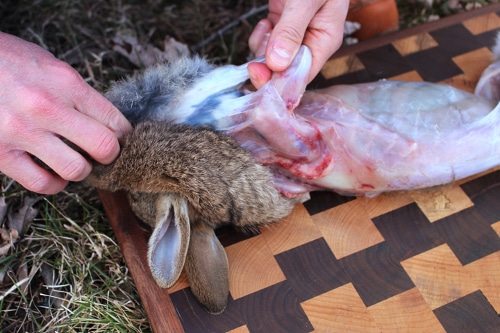
You’ll want to work the legs out.
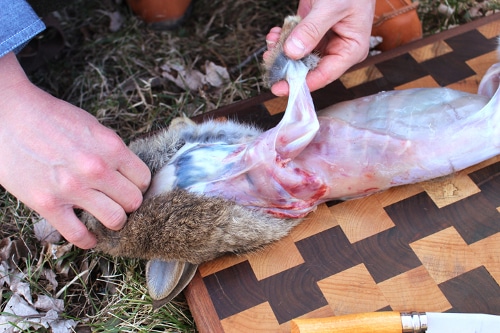
A sharp tug will tear the hide and leave the fur on the feet like little shoes.
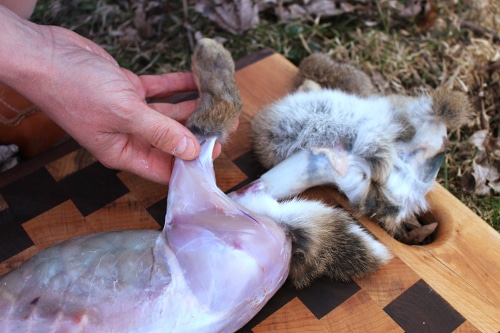
Continue pulling the hide off the rear. The tail may or may not come off.
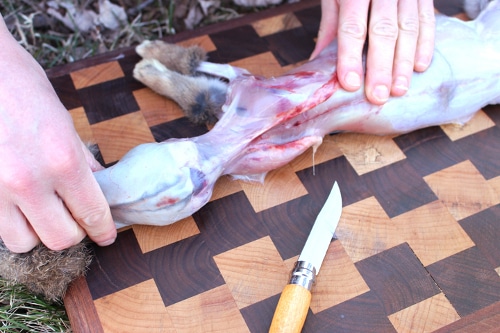
Pull the front up around the neck just to the base of the skull.
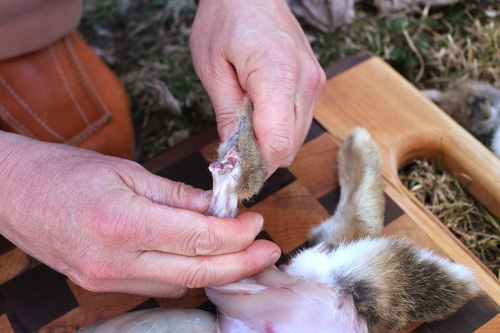
Cut off the feet at what would be the ankles. It’s easiest to snap these at the joint with your hands, and then just cut through the muscle and tendons.
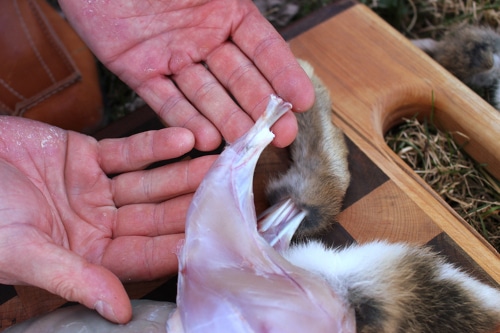
After the foot is cut off.
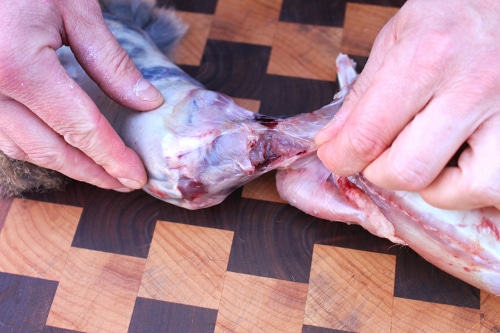
Cut off the head.
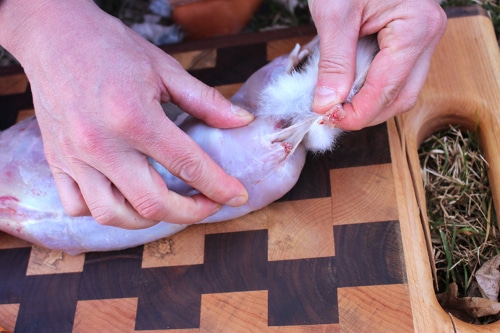
Also cut off the tail if it didn’t come off before.
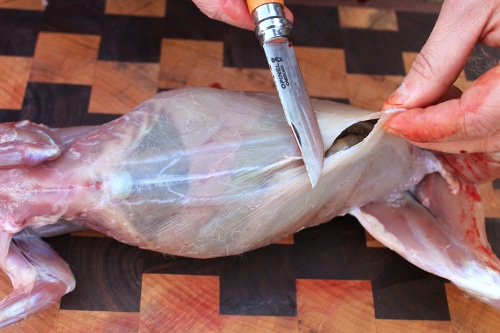
With the head, tail, and feet all gone, you’ll want to make a small incision in the belly. Be careful here, the guts are just underneath and you don’t want to go slicing open the colon or bladder.
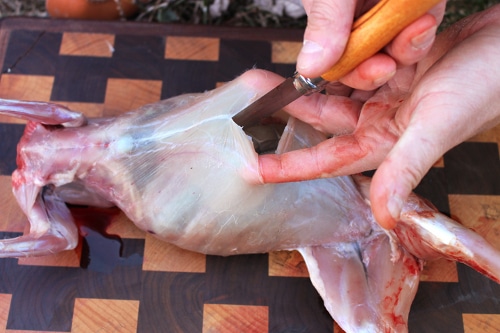
Using two fingers to lift the skin away from the intestines, run the knife up to the ribcage and down to the pelvis.
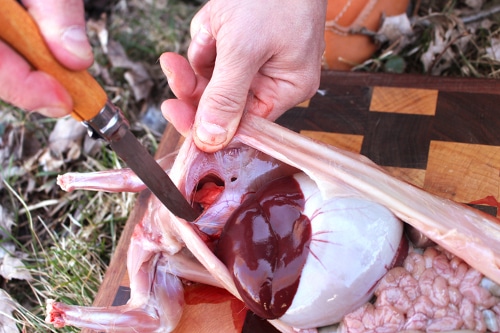
Now it’s time to remove all the innards. Be sure to cut into the chest cavity where the heart and lungs are. There is a membrane that separates the chest cavity from the intestines.
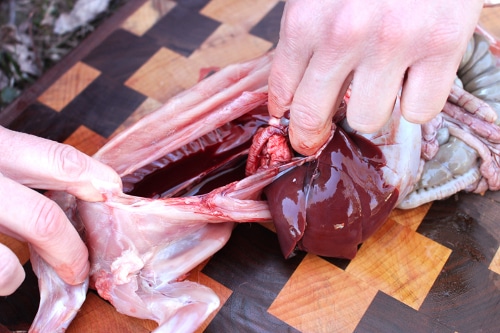
Insert your index and middle fingers in the top of the chest cavity and press them all the way down against the spine. With one steady motion you should be able to pull down and remove all the organs and intestines. Keep pulling down until everything is out of the way.
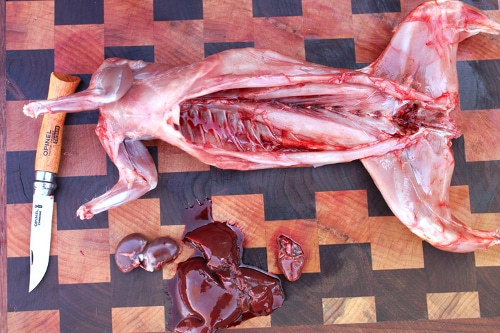
Cut through the pelvic bone and clear out any remnants of the colon. Also pull out any remaining membranes or pieces from the chest and abdominal cavity. I typically keep the heart, liver, and kidneys and cook them in a variety of ways. Each is unique and delicious. A deep red liver is the sign of a healthy animal. If the liver looks weird or is muddled with spots or discoloration, the animal may be unhealthy, in which case I would not eat it.
The Butchering
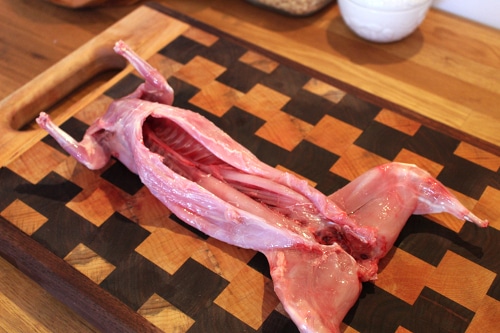
I typically do this inside and start by thoroughly washing the rabbit in the sink to clean off any remaining blood, hair, or debris from the field dressing process.
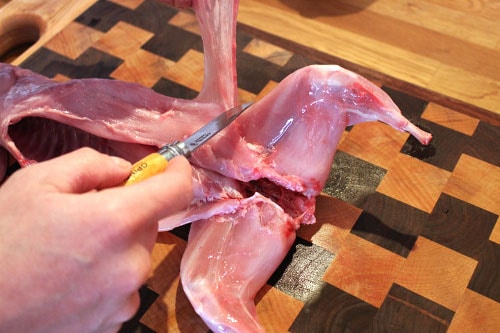
I begin the entire process by removing the skin and little fatty pieces. This can be a tedious process but I’ve found the end result tastes better with this gone. This is often referred to as the “silver skin” and it’s worth taking the time to remove.
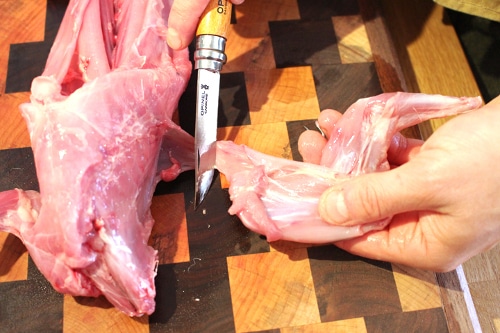
After the silver skin is removed, I focus on the front legs. They are not attached by bone to the body so it’s pretty simple. Cut close to the ribcage and remove as much meat as possible.
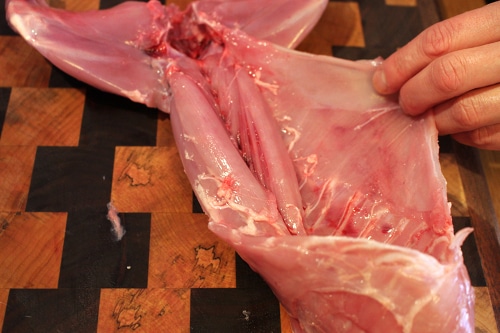
Next, I remove the belly meat. It doesn’t seem like much and I often see people throw this away, but I consider it a choice cut of meat. This is actually the area where bacon comes from on a pig. Would you throw away the bacon? I didn’t think so. Trim this down the ribs and close up against the loin. In the photo, I have removed the belly skin on the left side and am working on the right.
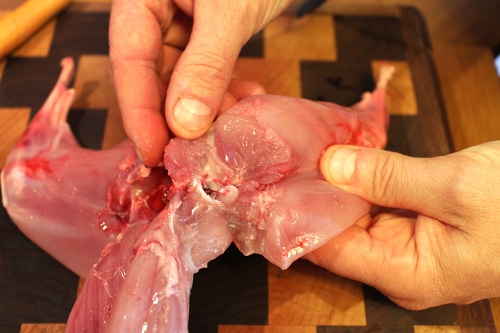
I then move to the back legs. I cut through the meat to the hip joint and then snap that with my fingers.
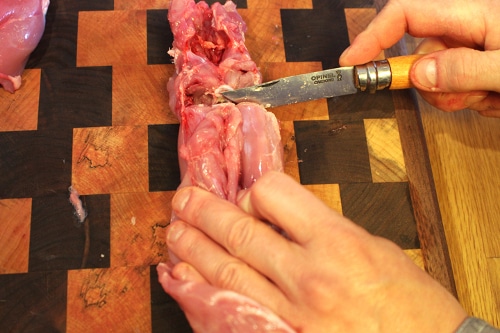
After removing the back legs, I cut the pelvis off. I save the pelvis section and use it to make a rabbit stock with the neck and ribcage (mentioned later).
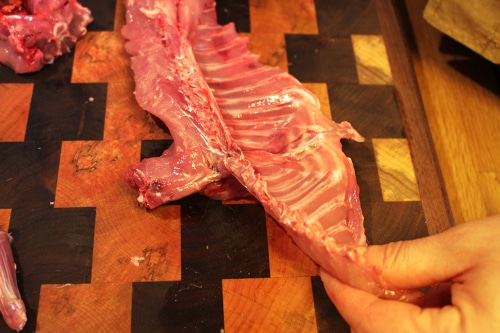
After removing the pelvis I then cut through the ribs against the spine. Here I’m using my knife, but I’ve also used scissors before as well. Before doing this you’ll want to filet the back loin away from the ribs so that you don’t cut any of that off with the ribcage.
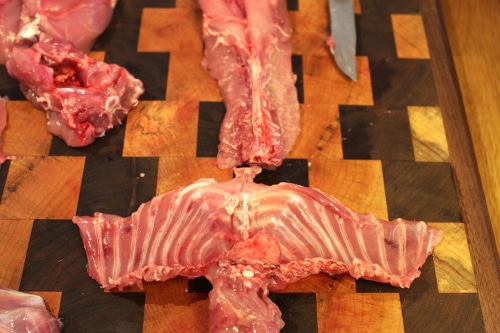
Once both sides of ribs are cut from the spine, I cut off the ribcage and neck and include it as one piece with the pelvis for rabbit stock.
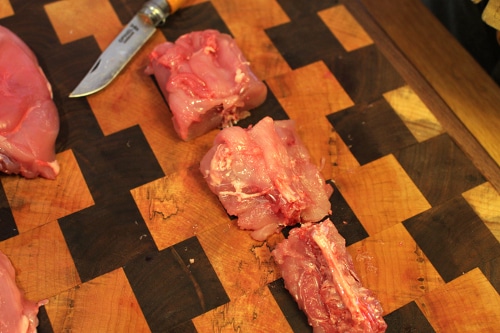
The rabbit loins line the top and bottom of the spine and are my favorite pieces (along with the back legs). For portioning and serving I will normally cut the spine/loins into three sections. Each of these make a great portion.
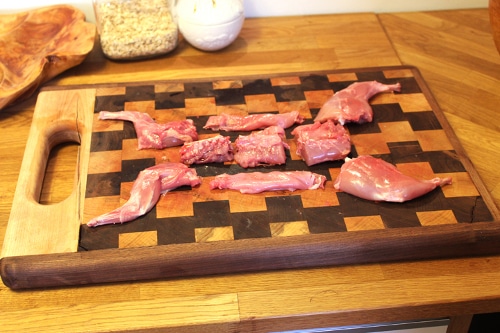
With the pelvis, neck, and ribs in the stock pot, above are the pieces left for cooking in any way you wish: 2 front legs, 3 loin sections, 2 belly meats, and 2 back legs.
Final Thoughts
When my grandfathers were my age, they went through this process every time they ate meat. The modern conveniences we enjoy today didn’t exist, nor did the commercial meat industry. Though I don’t necessarily enjoy the butchering process (and certainly not the killing part), it’s important to me. I feel connected to simpler times and, on some level, to my ancestors. It’s also a reminder that the meat I eat comes from a living, breathing animal. I never want to take that for granted.
Remember, it’s not IF but WHEN,
Creek
___________________________________
Creek Stewart is a Senior Instructor at the Willow Haven Outdoor School for Survival, Preparedness & Bushcraft. Creek’s passion is teaching, sharing, and preserving outdoor living and survival skills. Creek is also the author of the book Build the Perfect Bug Out Bag: Your 72-Hour Disaster Survival Kit. For more information, visit Willow Haven Outdoor.


