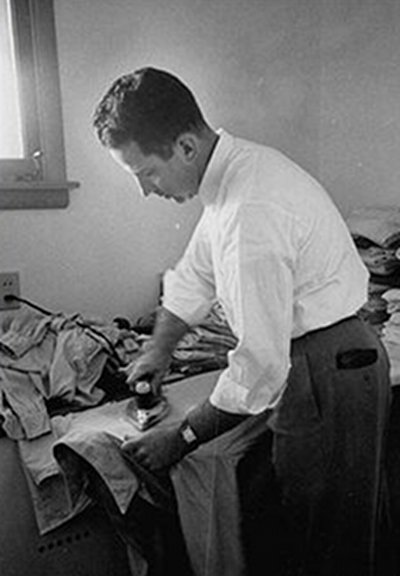
For a full text article on the subject, see here. If you need to iron your pants too, click here.
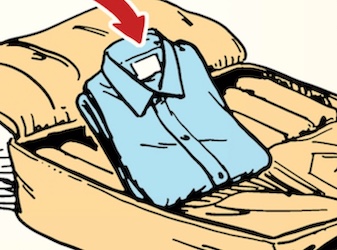
- Slightly damp shirts are easier to iron than dry shirts. Either remove shirt from dryer before it’s fully dry or moisten shirt with spray bottle.
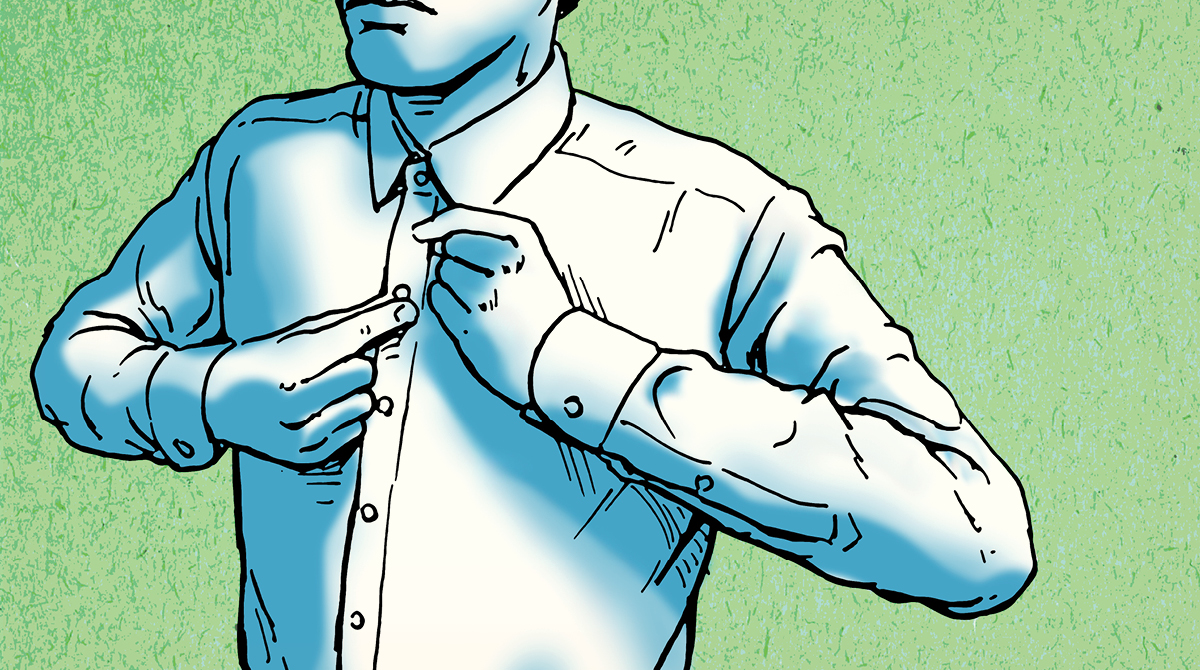
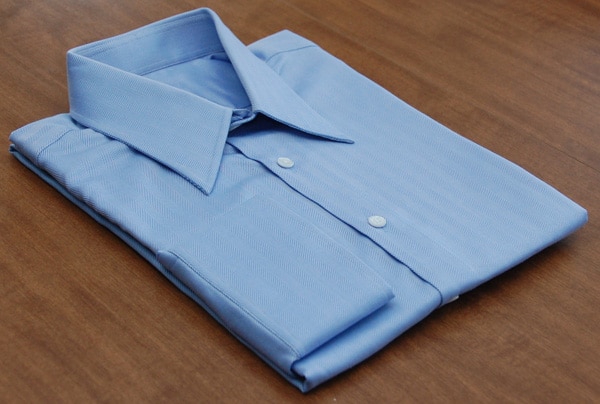
- Pop collar and remove collar tabs. Iron underside of the collar first, slowly pressing the iron from one point of the collar to the other. Flip shirt over and repeat on outside of collar.
- Next iron the shirt cuffs. Unbutton one cuff and lay flat. Iron inside of the cuff first, and then the outside, moving all wrinkles from uneven fabric to the edges. Carefully iron around the buttons. Never iron over buttons.
- Iron front of shirt. Start with the side with buttons and carefully work the iron point around button area. Then move back up to the top of the shoulder and work your way down the shirt with iron. Repeat on other side.
- Iron back of shirt. Start at the top with the yoke (back shoulder area). If you have a center box pleat, spend a few seconds ironing around it.
- Time for the sleeves. Take either sleeve by the seam and lay flat on ironing board. If you can see the crease on the top of the sleeve from previous ironing, match it again so that you have a single crease line.
- Start ironing at the top where the sleeve is sewn onto the shirt and work your way down to the cuff. Turn sleeve over and iron the opposite side, then repeat process with other sleeve.