Unless you grew up in Fiji, you probably already know the basics of snowman building. But today we’ll finish our series on awesome snow play skills by sharing the secrets to building a bigger, better, faster, stronger snowman. Okay, maybe not faster; Frosty’s still not going anywhere. But these tips can help you or your kids create the best snowman in the neighborhood.
Start with good snow. You can’t make a silk purse out of a sow’s ear and you can’t make a good snowman from powdery snow. You need the slightly wet stuff. Not slush mind you, but the kind of snow you get when it’s just above or just below freezing. Slightly wet snow packs easier and holds onto buttons and coal lumps better. If the snow you have to work with is too dry, you can help nature along by spraying it with a hose fit with a nozzle that produces a fine mist. You’re also going to need about 4 inches of snow on the ground to avoid hitting dirt and creating a mudman.
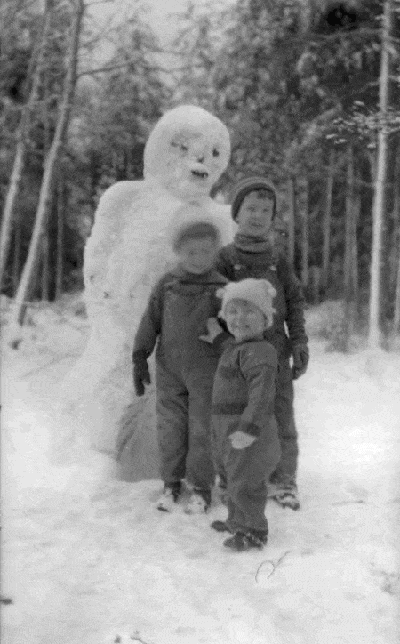
Tragically, this snowman ate all three children seconds after this photo was taken.
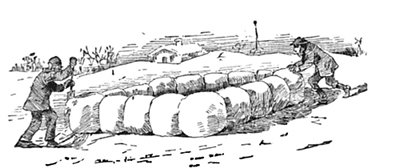
Make the balls. Start with a big snowball you pack in your hand and then roll it on the ground, allowing it to pick up snow and get bigger. Remember to roll it in different directions so that you don’t wind up with a cylinder instead of a nice sphere. Keep the ball from making contact with the snowless ground and from picking up dirt and twigs and such.
The bottom ball is the biggest. Place it where you want the snowman to reside; if you can see it from inside the house, all the better. Try to pick a place that’s shaded and not in direct sunlight. This will help increase the snowman’s longevity.
Stack the balls. Jim Sysko, an expert snowman builder who helped work on the largest snowman in the world, recommends that you flatten the top of the first ball. Then when you make the middle segment ball, flatten the bottom of that ball before you place it on the first ball. Flat on flat=more stability. Repeat this process so that the top of the middle ball and the bottom of the top ball are flat too.
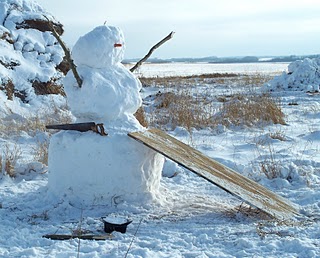
If you’re building a gigantic snowman and find that you cannot lift the middle or top ball to be placed, get a plank and roll the ball up it.
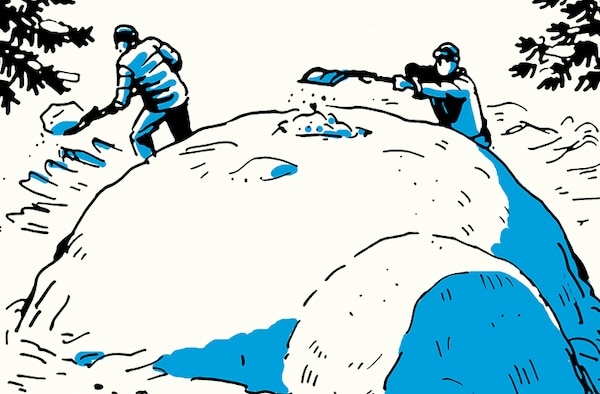
Once you have all the balls stacked on top of one another, pack snow in-between the segments to add further stability to the structure.
Spruce up your snowman. Once you build the snowman’s basic structure, your next task is to bring Old Frosty to life. An old silk hat is key in this, although it stands a good chance of blowing away. A carrot for the nose and coal (although who can find coal these days? Little rocks work almost as well) and buttons for the eyes and mouth are classic add-ons. Just get creative and see what you have in the backyard and the kitchen. Prunes work well for the eyes and provide a snack for the birds. Place some sticks in the side for arms.
Sysko recommends having the face face away from the sun, to prevent your snowman’s premature blindness.

If placing Frosty in the deep freeze, be sure to tell the wife.
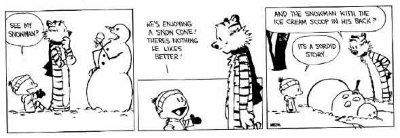
In lieu of physical add-ons, consider painting your snowman with a mixture of food coloring and water. You can paint on a smile or traumatize your children by adding some tears as Frosty starts to melt. Or if you really want to traumatize the kids, you can give your snowman a bleeding bullet wound or head injury. For more morbid ideas, we turn to our good friend Calvin:


 Got any more tips for building a great snowman? Share them with us in the comments!


