A lot of men today are clueless when it comes to tools. The increased affluence of the past 50 years led many men to outsource handyman work instead of doing repairs and home improvement themselves.
But knowing how to handle tools is an essential skill every man should, well, have a handle on. You’ll become more self-reliant, you’ll save money, and you’ll enjoy the supremely manly satisfaction of working with your hands. To help the generation of men who never got around to learning how to use tools, we’ll be doing a series of posts on basic toolmanship.
To kick off our series on tool use, we start with the lowly hammer. To the unskilled, hammering just means pounding the hell out of something until you get the job done. Sure, you could do that, but you’ll end up with crummy results and a tired arm to boot. A wise handyman knows how to use a hammer safely, effectively, and efficiently.
Types of Hammers
Proper hammering begins with selecting the right hammer for the job. Using a hammer for tasks that it’s not suited for can result in injury and shoddy work. Below, we give you the skinny on the different types of hammers a man has to choose from.

16 ounce claw hammer. If you’ve only used one kind of hammer in your life, it’s probably this one. Its curved back makes it ideal for pulling out nails. This is a must for any man’s toolbox.

16 ounce ripping hammer. When you have a small demolition job, this is your go-to hammer. Unlike the claw hammer, the back of a ripping hammer is straight. It’s used for heavy carpentry work, framing houses, and of course, ripping crap up.

Rubber mallet. Use a rubber mallet when you hammer a finished-metal surface.

Wooden mallet. Carpenters use wooden mallets to strike wood chisels during carpentry work. Don’t try drywalling with a wooden mallet. You’ll just end up with a bunch of splinters in your face after the head smashes into a million pieces.

Soft-face hammer. When assembling furniture or working on some other decorative wood project, you need a hammer that will drive a nail without marring the surface of the wood. Go with the soft-face hammer for this job. The faces of soft-face hammers are usually made of plastic or rubber.

Ball peen hammer. Ball peen hammers are used in metalworking tasks like center punching and shaping soft metal.

Mason’s hammer. Use a mason’s hammer to cut and set bricks when laying that new walkway.

Upholster’s or tack hammer. The smaller face is designed for driving tacks in upholstery work.

Drywall hammer. The serrated face of this appropriately named hammer gives you a better grip on the nail when installing drywall. You can use its hatchet-shaped back for cutting drywall.

Huge ass sledge hammer.For big demolition jobs, bring out the big guns. Concrete, walls, and porcelain bathtubs are no match for a 10 pound sledge hammer. It also comes in handy at state fairs when attempting to win your girl a giant teddy bear.
Parts of a Hammer

Hammer Safety
Use the right hammer for the job. Don’t upholster a couch with a sledge hammer or drive drywall nails with a tack hammer. You won’t get the job done right, and you might end up injuring yourself.
Don’t strike a hardened steel surface with a steel claw hammer. Flying metal chips can injure you or a bystander.
Never use a hammer with a loose or broken handle. The hammer head could come flying off while in use. If you don’t want to explain to your wife why grandma’s china cabinet is in a million pieces, replace the handle if it’s loose or cracked.
Never use a hammer with a chipped or cracked head. It’s an accident waiting to happen.
How to Handle a Hammer
Where to hold the hammer. Hold the hammer like you’re shaking hands with somebody. When you need more control over the hammer, like when you’re starting a nail, grip the hammer closer to the hammer head. When you need power, grip the hammer near the handle’s end.
Starting the nail. Place the nail where you want to drive it and hold it between the thumb and forefinger of your non-dominant hand. Place your fingers near the top of the nail when holding it. If you hold the nail near the bottom, a missed hammer swing will crush your fingers between the wood and the hammer. Not a pleasant feeling.
Grip the hammer near the middle of the handle. Tap the nail lightly until the nail has sunk into the wood enough that it can stand on its own.
If you’re driving in nails that are too small to hold between your thumb and forefinger, use this handyman tip: Grab a piece of thin cardboard or thick paper and push the nail through it. Instead of holding onto the nail, you hold onto the cardboard. Remove the cardboard before you finish driving the nail.
For some hardwoods, it’s a good idea to drill a pilot hole before you hammer in a nail. It makes the job easier and prevents the wood from splitting. Which brings us to our next point-
Preventing wood splitting. In addition to creating a pilot hole, lubricating the nail with beeswax and blunting the nail will also keep the wood from splitting. To blunt a nail, simply tap the nail point with your hammer. Also, avoid hammering a nail into the grain of the wood.
Swing from the elbow for power; swing from the wrist for control. For maximum power and efficiency, swing from the elbow. When you need more control and finesse, swing from the wrist. Many hammer newbies try to hammer with just wrist action.
Focus on the nail, not the hammer. When hammering, you want to avoid sideways and glancing blows. To score a direct hit every time, focus on the nail head, not the hammer.
Let the weight of the hammer do the majority of the work. You don’t need to use every ounce of strength in your body when hammering. That will only lead to wild swings and bent nails. The weight of the hammer head plus your smooth swing provides enough force to get the job done.
Advanced Hammering Techniques
Clinching nails. Let’s say you drive a nail through a 2×4. The nail is longer than the board is thick, so when you drive in the nail, the nail’s point sticks through the board. You don’t want to leave those points hanging out to snag people’s clothing or scrape their skin. So you’ll want to clinch the nail. Simply strike the tip of the nail at an angle and force it down flat into the board with light taps. Sink the tip below the surface of the board with a sharp rap. When you clinch a nail, always clinch with the grain. In addition to preventing ripped shirts, clinching also lends a nail greater strength and stability.
 Example of toenailing
Toenailing. When you need to nail one board perpendicular to another, like in a framing job, bust out the toenail technique. Toenailing involves driving a nail at an angle through the end of the board to anchor it to another board. To toenail, place one end of the board perpendicular to the board you want to nail it to. Drive the nail in at a 60 degree angle. It can be tricky starting an nail at an angle, so begin by making a pilot hole by tapping the nail point straight into the board. Once you have a hole, tip the nail point to the correct angle to finish driving it in. Brace your foot behind the board as you hammer, so the board doesn’t move from its spot. Toenail a second nail on the same side and two more nails on the opposite side.
Removing Nails
Claw hammers are designed to remove nails. Simply slide the claw underneath the nail head. Pull the hammer’s handle towards you to extract the nail. Here’s an old trick from grandpa to help you pull nails: Stop the first pull back before the hammer’s poll touches the surface of the wood. Place a wood block under the hammer head to provide some leverage. Using the block puts less strain on the hammer’s handle and allows you to lift the nail straight up without bending it.
 Place a block under the hammer after the first pull back
Some nail heads are too small for the tongs of the hammer to grasp. To deal with such nails, hammers are sometimes made with a small v-shaped notch in one of the prongs. If yours lacks this feature, you can simply file a v-shaped notch into one of the claws with a metal file.
Further Reading:
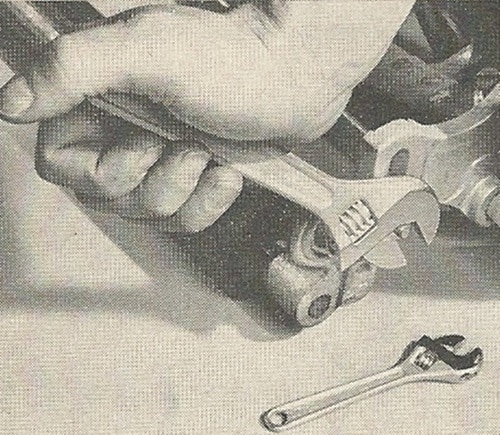
Toolmanship: Wrenches
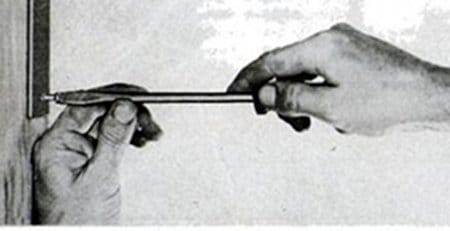
Toolmanship: Screwdriver
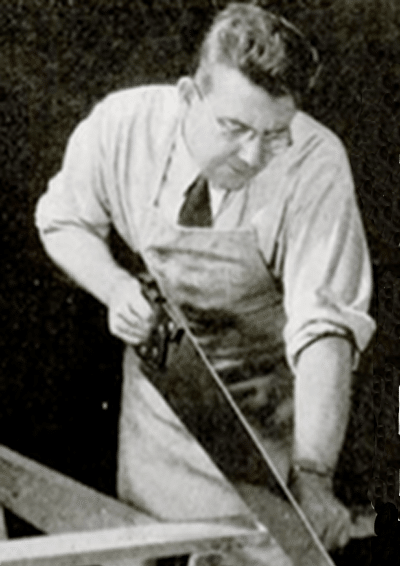
Toolmanship: Handsaw
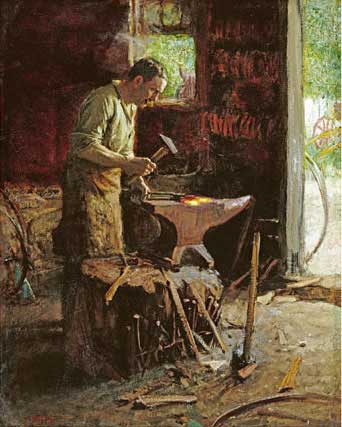
Toolmanship: Hammer
Have any more hammering tips? Share them with us in the comments.